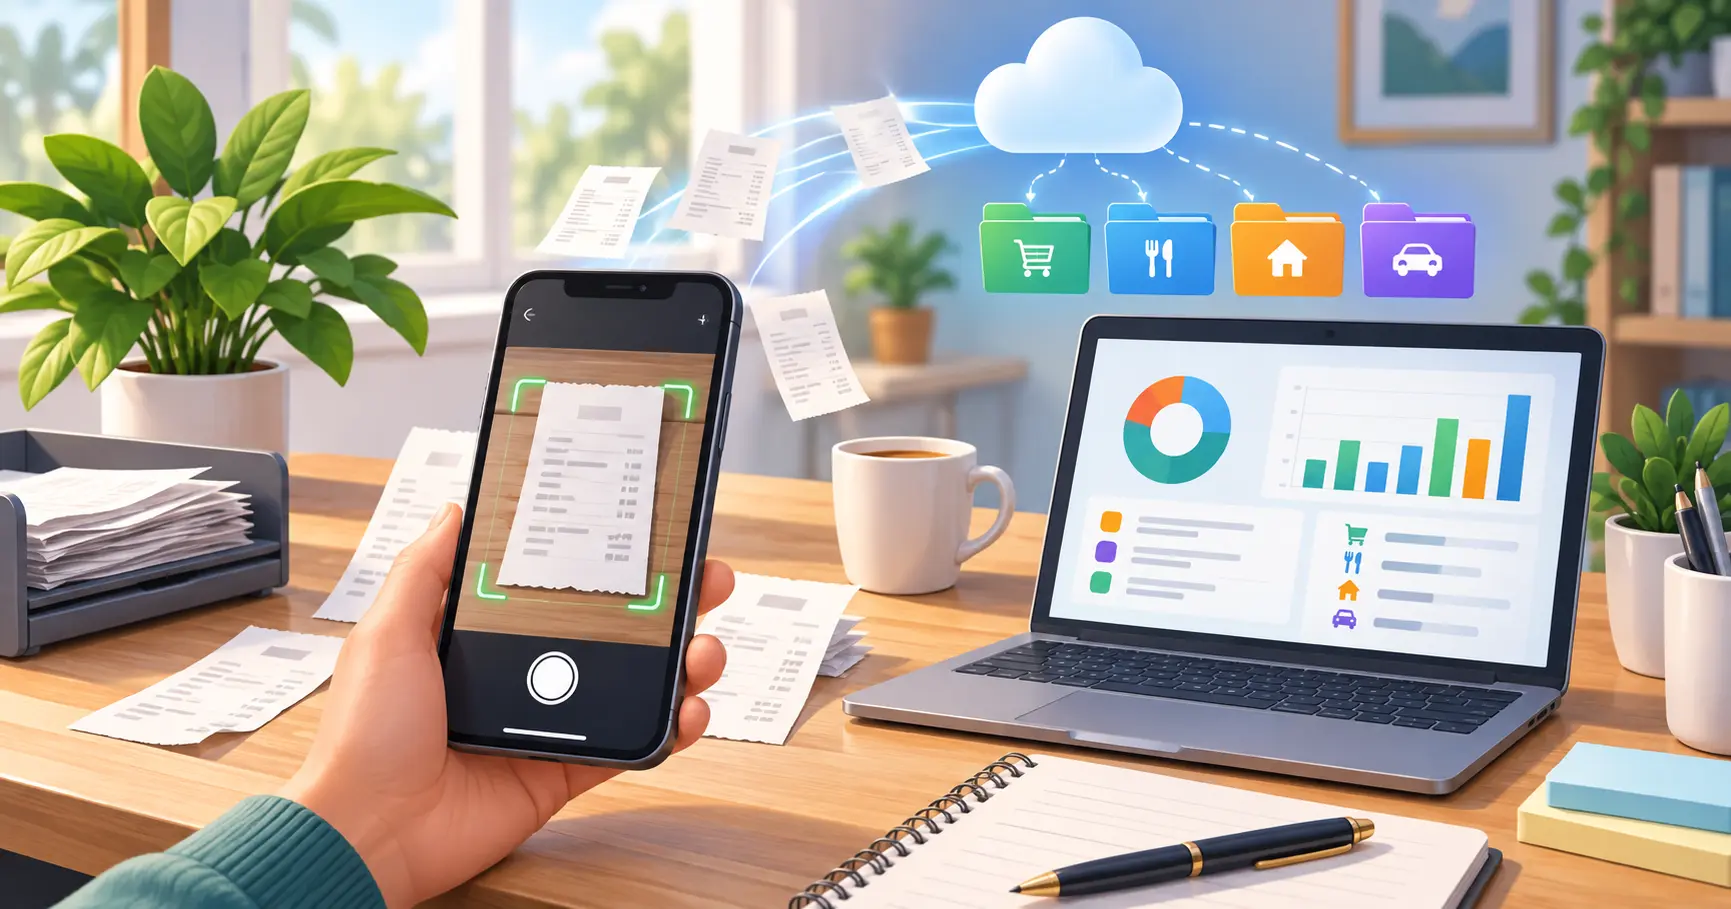
Instant receipt collection means every receipt lands in one organized place the moment you get it, not weeks later from a shoebox, a glovebox, or an overflowing inbox. For freelancers and small business owners in Canada, that habit is the difference between a calm tax season and a scramble to rebuild a year of expenses from memory.
In this guide, you'll learn why receipts get lost, what a truly instant collection system looks like, and four practical ways to capture paper, email, and card receipts in seconds with iSaveBill.
What Is Instant Receipt Collection?
Instant receipt collection is a simple idea: capture every receipt at the moment of purchase, and send it straight to one place. No sorting later, no "I'll deal with it on Sunday," and no hunting through six apps to find one parking receipt.
A good instant receipt collection system does three things:
- Captures at the source. You snap, forward, or import the receipt right when it happens.
- Stores everything in one destination. Paper receipts, email receipts, and card transactions all end up in the same list.
- Does the boring work for you. The merchant, date, total, and taxes are read automatically, and a backup is kept safe.
If any one of those three is missing, receipts slip through the cracks.
Why Receipts Get Lost (and What It Costs You)
Most people don't lose receipts because they're careless. They lose them because collection depends on remembering to do something later. A few common culprits:
- Thermal paper fades. Many till receipts are printed on heat-sensitive paper. Left in a hot car or a wallet, the ink can fade until the receipt is blank.
- Email receipts are scattered. Online orders, subscriptions, and parking apps send receipts to your inbox, where they get buried under everything else.
- Small purchases add up. A $9 parking fee or a $14 supply run feels too small to bother with, but dozens of them across a year become real money in missed deductions.
- Batching creates gaps. Waiting until month-end means you're guessing at what each purchase was for.
For self-employed Canadians, this matters because the CRA generally requires you to keep business records and supporting documents for six years from the end of the tax year they relate to. The CRA accepts electronic images of paper records if the image is an accurate reproduction that carries the same information as the original, with no significant details lost. But you can generally only throw out the paper if your imaging meets the national standard of Canada that the CRA references; otherwise, keep the originals. See the CRA's guidance on keeping records for the details, and check with your accountant about your specific situation.
Want the full picture? Read our guide to tracking business expenses in Canada.
Not sure what the CRA expects from a receipt? See our guide to tracking receipts for the CRA.
Ready to stop chasing receipts?
Try iSaveBill freeHow Instant Receipt Collection Works With iSaveBill
Comparing tools? See our roundup of the best receipt scanner apps in Canada.
iSaveBill gives you four ways to get a receipt into your account, so you can pick whichever is fastest in the moment.
| Method | Best for | Typical effort |
|---|---|---|
| In-app camera | Paper receipts at the till | A few seconds |
| Email forwarding | Online orders, subscriptions, parking apps | One forward |
| File upload | PDFs and photos already on your device | One tap |
| Statement import | Card and bank transactions with no receipt | One upload |
1. Snap a Photo With the In-App Camera
For paper receipts, the fastest method is a photo taken right at the counter. iSaveBill's built-in camera opens your rear lens directly, turns on the flash automatically on phones that support it, and lets you capture several photos in one go, which is handy for long receipts or a stack from a supply run.
Once you take the photo, the receipt is cropped and read by AI. The merchant name, date, total, and tax (GST, PST, HST, and QST) are filled in for you, and a category is suggested for the expense. You review it, and you're done.
Tip: Take the photo before you leave the store. The receipt is flat, the lighting is good, and you won't forget.
2. Forward Email Receipts to upload@isavebill.com
Most receipts today never touch paper. Instead of digging through your inbox at tax time, forward the email to upload@isavebill.com and it appears in your Transactions tab.
This works for:
- Emails with attached receipts (PDF, JPG, or PNG)
- Body-only emails, where the receipt is written into the email itself, such as parking app confirmations and some bank or subscription emails
Attachment receipts are processed quickly. Body-only emails are turned into an image first, so they usually show up within a few minutes. Since forwarding is something you do and then forget about, that short wait rarely matters.
3. Upload Files and PDFs
Already have a receipt saved as a PDF, or a screenshot in your camera roll? Upload it directly. iSaveBill accepts JPG, PNG, and PDF files and reads them the same way it reads a fresh photo. If you have a backlog, you can also bring in expenses in bulk from a CSV or Excel file.
4. Import Your Bank or Card Statement
Some purchases never produce a receipt you can hold or forward. For those, use e-Statement import: upload a bank or card statement and iSaveBill's AI extracts the transactions for you. Duplicates are checked before anything is saved, so you won't end up with the same expense twice.
This is also a great safety net. If a receipt got lost, the statement line still gets your expense on the books.
Automatic Backup to Google Drive and Dropbox
Collecting a receipt is only half the job. You also want to know it's safe. iSaveBill can automatically back up your receipt files to your own Google Drive or Dropbox, so you have a second copy in an account you control. If you ever need to hand records to an accountant or respond to a CRA request, your files are already organized and stored in two places.
Put It on Your Phone
Instant collection only works if the tool is always within reach. Add iSaveBill to your phone's home screen so it opens like an app, and you can capture a receipt in the time it takes to pay. Keep it right next to your camera, and the habit builds itself.
A 30-Second Routine That Actually Sticks
You don't need a big system. You need a tiny, repeatable habit:
- At the till: snap the receipt with the in-app camera before you walk away.
- In your inbox: forward any receipt email to upload@isavebill.com as soon as it arrives.
- Once a week: open your Transactions tab, glance at anything flagged for review, and confirm categories.
- Once a month: import your card statement to catch anything you missed.
Thirty seconds a day is far less painful than a weekend of reconstructing the year.
Common Mistakes to Avoid
- Waiting until later. Later is when receipts disappear. Capture first, organize second.
- Only collecting big purchases. Small expenses add up. Collect everything, and let categories sort it out.
- Trusting faded paper. Thermal receipts fade, so photograph them while they're still readable, and keep the original too unless your imaging meets the CRA's standard.
- Storing receipts in your camera roll. A photo with no merchant, date, total, or category can't be searched or reported on.
- Skipping the backup. One copy is not a system.
Frequently Asked Questions
What is instant receipt collection?
Instant receipt collection is a system where every receipt, whether paper, email, or a card transaction, is captured and stored in one place at the moment of purchase, so nothing has to be gathered later.
What's the fastest way to collect paper receipts?
Take a photo at the till. iSaveBill's in-app camera opens your rear lens, uses the flash on supported phones, crops the receipt, and reads the merchant, date, total, and taxes for you.
Can I collect email receipts automatically?
You can forward any receipt email to upload@isavebill.com. It works with emails that have PDF, JPG, or PNG attachments as well as body-only emails, such as parking app confirmations.
Does the CRA accept photos of receipts?
The CRA accepts electronic images of paper receipts if the image is an accurate reproduction with the same information as the original and no significant details lost. However, you can only destroy the paper originals if your imaging meets the national standard the CRA references (CAN/CGSB 72.34). If you're not sure yours does, keep the paper. Confirm the details with your accountant.
How long should I keep my receipts?
The CRA generally requires you to keep business records for six years from the end of the tax year they relate to.
Is there a free way to try iSaveBill?
Yes. You can start free at isavebill.com and try capturing your first receipts today.
Start Collecting Receipts Instantly
Receipts are only a headache when collecting them is a separate chore. Capture them where and when they happen, and your records take care of themselves.
Try iSaveBill free and upload your first receipt in seconds.
This article is for general information only and is not tax or legal advice.