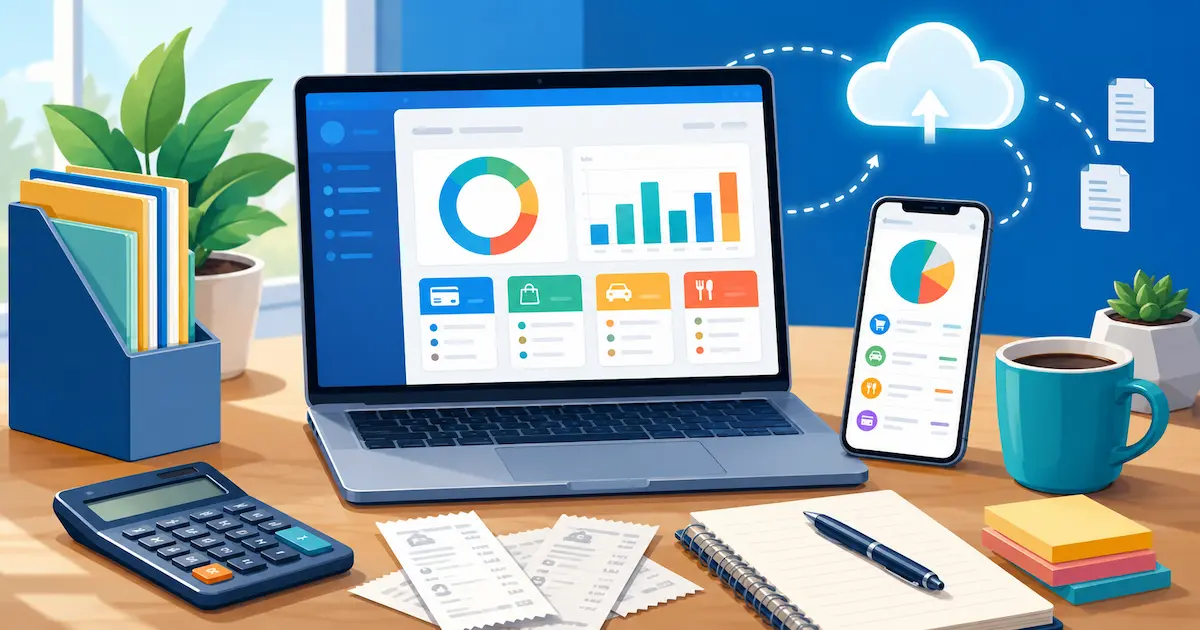
If you're still holding onto paper receipts or trying to remember which coffee meeting was a write-off, it's time to track expenses online instead. Moving your expense tracking to a digital system doesn't just save you from a shoebox full of faded receipts — it saves you hours every month, reduces tax-season stress, and gives you a real-time picture of where your money is going. This guide walks through exactly how to move your expense tracking online, what to look for in a tool, and the habits that make it stick.
Why Track Expenses Online Instead of On Paper
Paper receipts fade, get lost, or pile up in a drawer until tax time — and by then, half of them are unreadable. Tracking expenses online solves that problem at the source. As soon as a purchase happens, it's photographed, categorized, and stored securely in the cloud. There's no shoebox, no spreadsheet to maintain by hand, and no scramble in April.
There are three concrete reasons freelancers and small business owners are moving away from manual methods:
- Time savings. Manually entering expenses into a spreadsheet can take hours every month. An online expense tracker with AI receipt scanning turns that into seconds per receipt.
- Accuracy. Manual entry is where typos and missed deductions happen. Digital tracking pulls the amount, date, merchant, and tax directly from the receipt.
- Audit readiness. The Canada Revenue Agency requires businesses to keep supporting documents for their expense claims. A searchable digital record is far easier to produce than a box of paper if you're ever asked to. You can read the CRA's own guidance on what counts as a deductible business expense directly on their site, and see our guide on tracking receipts for CRA compliance for a deeper walkthrough.
What to Look For in a Tool to Track Expenses Online
Not every expense app is built the same way — we've compared the best receipt scanner apps in Canada in detail elsewhere, but at a minimum, check that any tool you consider covers these fundamentals:
- AI receipt scanning. You should be able to snap a photo and have the merchant, date, total, and tax extracted automatically — not type it in yourself.
- Multi-currency support. If you travel for work or bill clients internationally, your tracker needs to handle more than one currency without manual conversion.
- Email receipt forwarding. A lot of expenses — subscriptions, parking apps, online orders — arrive as an email, not a paper receipt. Look for a tool that lets you forward those emails in and have them logged automatically.
- Recurring payment tracking. Software subscriptions and memberships repeat monthly or yearly. A good tracker flags these so nothing renews unnoticed.
- Cloud backup. Your receipt images should back up automatically to somewhere like Google Drive or Dropbox, so you're never relying on a single device.
- Export for your accountant. Come tax season, you'll want a clean CSV, Excel, or PDF export you can hand straight to whoever files your taxes.
Step-by-Step: How to Track Expenses Online
Here's the actual workflow once you've picked a tool:
- Capture the receipt the moment you spend. Snap a photo right at checkout, or forward the email receipt to your tracker's upload address. Doing it immediately is the single biggest habit that determines whether tracking sticks.
- Let AI extract the details. A good online expense tracker reads the merchant name, date, total, tax breakdown, and currency straight from the image or email — no manual typing required.
- Categorize it. Most tools will suggest a category automatically (meals, travel, office supplies, software) based on the merchant, and you can adjust it in a tap.
- Tag it to a purpose or client, if relevant. If you bill clients or split costs with business partners, tag each expense so it's easy to filter and report on later.
- Review monthly, not just annually. Set aside ten minutes a month to skim your categorized expenses. This catches duplicate charges, forgotten subscriptions, and anything miscategorized — while it's still fresh, not eight months later.
- Export before tax time. When it's time to file, export a report by date range and category rather than digging through a year of individual transactions.
Common Mistakes When Tracking Expenses Online
Switching to digital tracking helps, but a few habits still undermine it:
- Batching receipts for later. Waiting until the weekend to photograph a week's worth of receipts means some get lost or thrown out before you get to them. Capture as you go.
- Ignoring email receipts. Digital-only purchases — SaaS tools, parking apps, online orders — are just as deductible as paper ones, but they're easy to forget because there's no physical object to remind you.
- Not backing up receipt images. If your only copy of a receipt lives on your phone and the phone is lost, that documentation is gone. Cloud backup should be automatic, not something you remember to do manually.
- Mixing personal and business spending in one account. This makes categorization messier than it needs to be and increases the chance of an error at tax time.
How iSaveBill Makes It Easy to Track Expenses Online
iSaveBill was built around exactly this workflow. Snap a photo of a receipt, forward a receipt email to your personal upload address, or import a bank statement — and AI handles the extraction and categorization automatically. A few specifics that make it a strong fit for freelancers and small businesses tracking expenses online:
- AI receipt scanning pulls merchant, date, total, and tax details from photos, PDFs, and forwarded emails.
- ~170 supported currencies with automatic detection, so international purchases don't need manual conversion.
- Recurring payment tracking surfaces subscriptions before they renew unnoticed.
- Automatic cloud backup to Google Drive or Dropbox, so receipt images are never sitting on a single device.
- Group expense splitting for shared costs with business partners or teams.
- One-click export to CSV or PDF, ready to hand to your accountant.
It's designed to remove the manual data-entry step entirely, so tracking expenses online becomes a five-second habit rather than a monthly chore.
Frequently Asked Questions
Is it safe to track expenses online?
Reputable expense tracking apps encrypt your data and store receipt images in secure cloud storage, generally with additional backup to services like Google Drive or Dropbox. This is typically more secure than a folder of paper receipts, which can be lost, damaged, or stolen with no backup at all.
How long should I keep digital expense records?
The CRA generally recommends keeping business records for six years from the end of the last tax year they relate to — see our full breakdown of how long to keep receipts in Canada for the specifics by record type. A digital system makes this far easier to manage than paper, since files don't degrade and can be searched instantly if needed.
Can I track expenses online for free?
Many tools, including iSaveBill, offer a free tier that covers core receipt scanning and expense categorization, with paid plans unlocking features like multi-currency support, bank statement import, and higher usage limits.
Start Tracking Expenses Online Today
Whether you're a freelancer trying to maximize self-employed tax deductions or a small business owner tired of end-of-year receipt chaos, moving your expense tracking online is one of the highest-leverage changes you can make. Pick a tool that automates the parts that used to take the most time — receipt scanning, categorization, and backup — and the habit takes care of itself.
Start tracking your expenses with iSaveBill for free and see how much time AI-powered receipt scanning saves in your first month.